Took me a whole few hours to do it but it is finally done
Here are the results step by step.
 Step 1: Start off by unlocking the main image
 Step 2: Alter the contrast and brightness until it reached the desired effect.
 Step 3 &4: Change the image to black and white and then use the history brush to highlight certain portions of the image.
 Step 5: I've used the smudge tool to blur the surrounding black and white portions of the images to create a sort of effect that focuses on the coloured images.
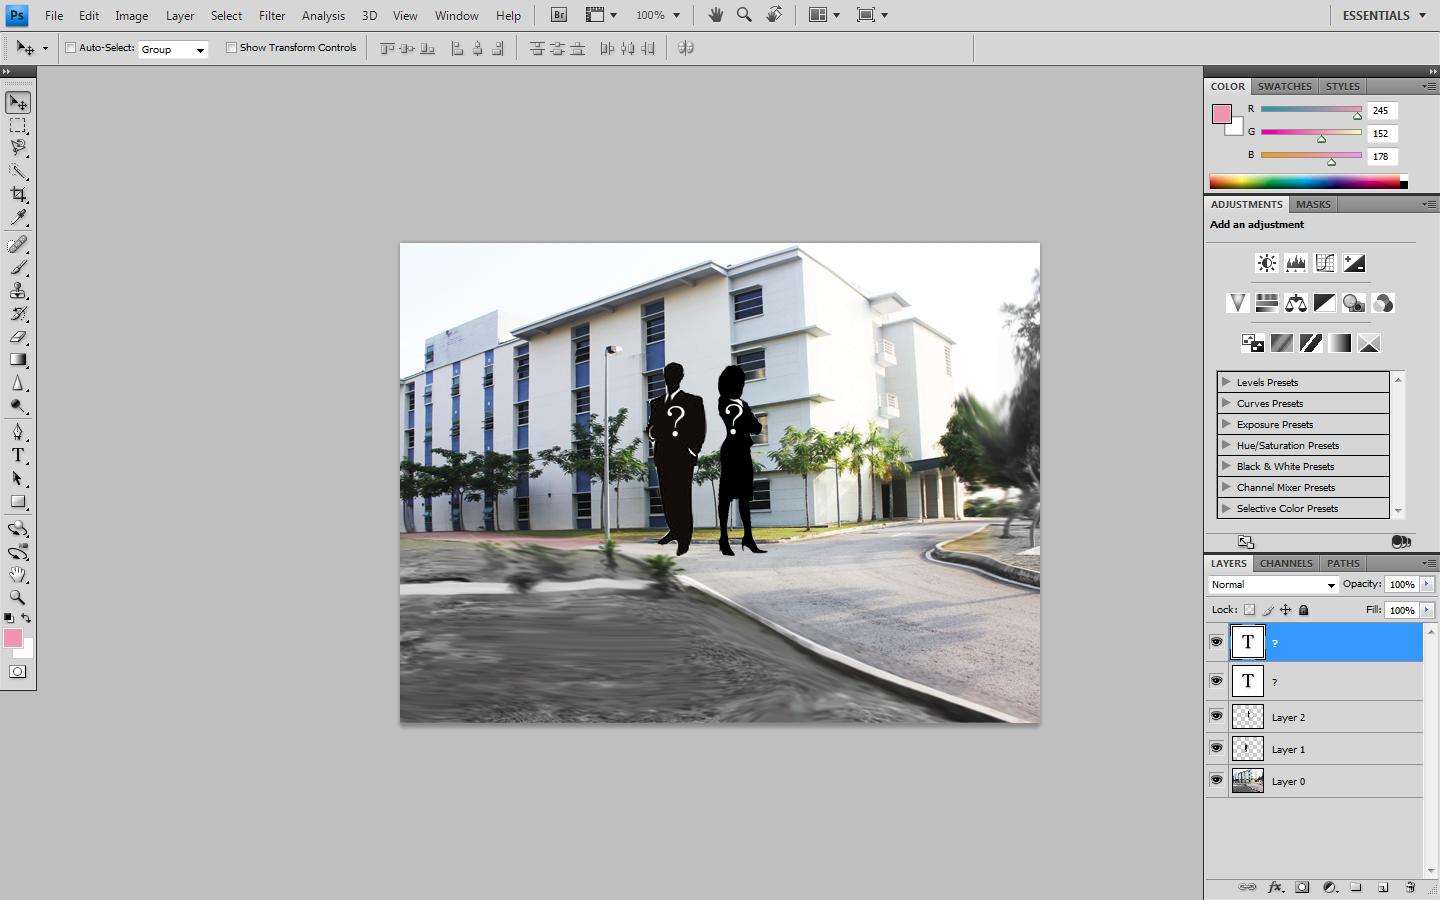 Step 6: I've inserted the desired image and sharpen any jagged images.
 Step 7: final touches to perfect the E-wallpaper to my desired taste. :)
And that concludes my seven part simple E-wallpaper step by step.
No comments:
Post a Comment